Web Scraping with Node.js: A Practical Guide for Beginners
Everything you need to know about web scraping with Node.js and JavaScript in one place.
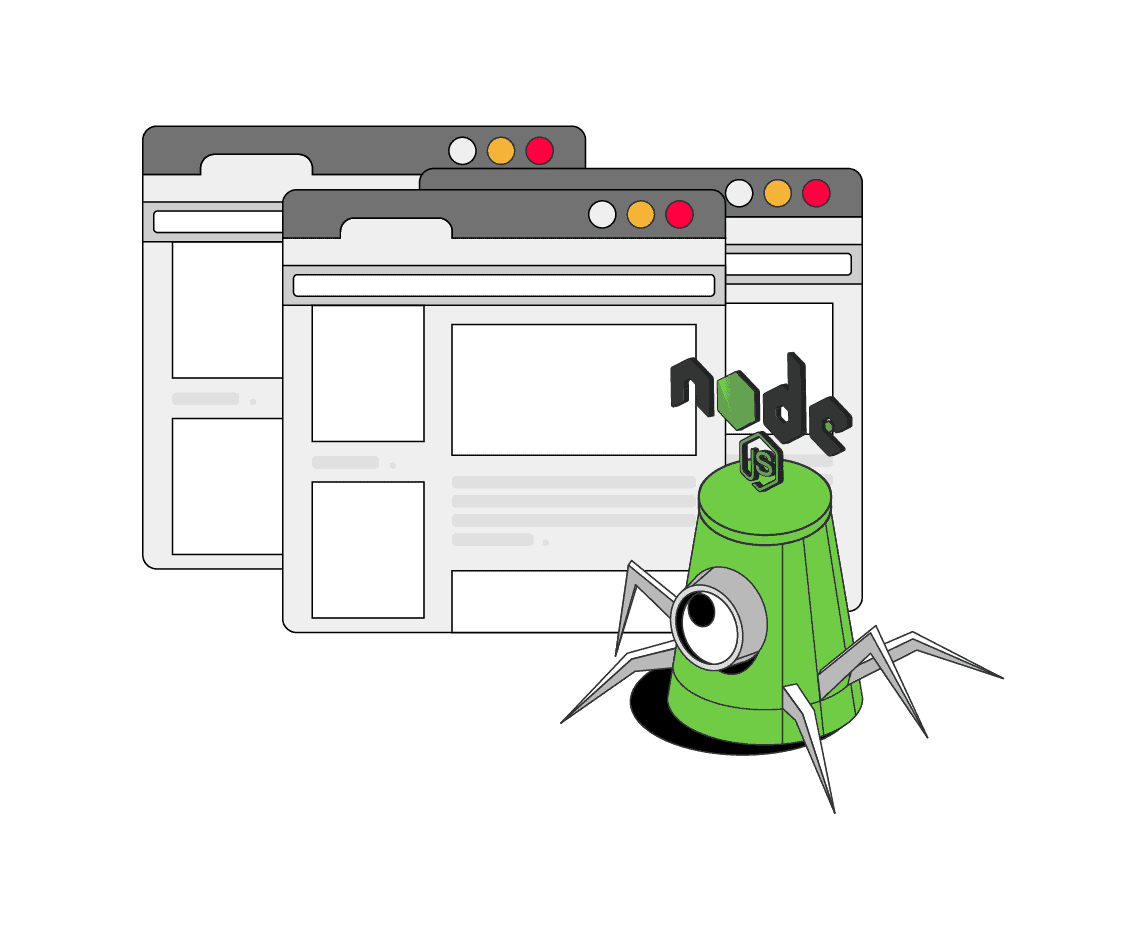
JavaScript is one of the most popular languages used in web scraping. Node.js is a JavaScript runtime with many powerful libraries and frameworks that both beginners and developers use. It’s become an irreplaceable tool for dynamic web scraping.
In this step-by-step guide, you’ll learn why Node.js gained popularity in recent years, what tools you should use for your project, and how to get more successful requests when extracting data. You’ll also find further instructions on tackling static and dynamic web pages. Hint: we’ve prepared real-life examples.
What Is Node.js Web Scraping?
Node.js is a runtime environment that allows you to run JavaScript on the server-side. Its primary focus is to build web applications, but Node.js has also gained popularity with scraping websites, as much of the web now relies on JavaScript.
Web scraping with Node.js can be split into gathering data from 1) static and 2) dynamic web pages. The main difference between the two is that static pages don’t need JavaScript rendering to show content, while dynamic pages execute JavaScript before loading the information.
To scrape static websites with Node.js, you’ll need to make a request and download your target page’s HTML code using a HTTP client like Axios. Once you’ve downloaded the data, you can extract the data points and structure them with a parser such as Cheerio.
To scrape a modern website or a single page application, you first need to render the entire page; traditional scripts can’t help you with that. So, you’ll need to use a headless browser like Puppeteer to deal with elements like infinite scrolling or lazy loading. In this case, Node.js is one of a few languages that makes dynamic scraping a walk in the park.
Why Should You Choose Node.js for Web Scraping?
Node.js is probably the first choice by many when it comes to web scraping JavaScript-rendered websites like social media or news outlets. Here are the main reasons why you should choose the runtime for web scraping rather than other programming languages:
- Handles dynamic websites. Node.js is the top option for scraping websites that rely on JavaScript to load and render content.
- Highly scalable. The runtime uses a non-blocking I/O model, which allows you to handle multiple connections and requests simultaneously. It can also deal with large amounts of data without sacrificing performance. This makes Node.js a good choice for scraping multiple pages.
- Relatively easy to learn. Node.js is based on JavaScript, so if you’re already familiar with it, it will be an easy nut to crack. Node.js uses fewer lines of code than other programming languages that can handle dynamic websites.
- Great libraries and frameworks. Node.js has many tools that you can access via npm (Node Package Manager). For example, Axios is a popular library for handling HTTP requests, while Puppeteer and Playwright control a headless browser and deal with JavaScript rendering. The libraries also include packages for spoofing browser fingerprints and handling anti-bot systems.
- Large community. Node.js has a pretty large community of developers and users, extensive documentation, and many tutorials. You can also find discussions about specific issues on forums like StackOverflow.
While Node.js can deal with JavaScript-rendered websites, I wouldn’t say it’s the best option for static websites. It requires writing more code compared to, let’s say, Python programming language.
Web Scraping with JavaScript: Dynamic Web Pages
Puppeteer
Puppeteer is a powerful headless browser primarily designed for web testing, but it works just fine with web scraping. The library controls Chrome and Chromium browsers and uses Chromium’s built-in DevTools Protocol, which lets you control the browser directly.
Puppeteer was developed by Google in 2018. It automates browser tasks like filling out forms, moving the mouse, waiting for the page to load, and other actions. It’s well-documented and relatively easy to use.
The library is fast and light on resources compared to frameworks like Selenium. Puppeteer supports plugins for spoofing browser fingerprint and proxy integration. To start using Puppeteer you need to install it by running the following command: npm install puppeteer
Then, you need to create a new file and start setting up your scraper. Here’s how you can do so:
					// Importing Puppeteer library
import puppeteer from 'puppeteer';

// URL to scrape
const url = 'https://example.com';


async function scrapeData() {
	// Launching Puppeteer
	const browser = await puppeteer.launch();
	// Opening a new page
	const page = await browser.newPage();

	// Navigating to a sample webpage
	await page.goto(url);

	// Extracting sample data using page.evaluate
	const data = await page.evaluate(() => {
	// Sample data extraction logic
	const title = document.title;
	const body = document.querySelector('body').innerText;
	// Returning an object containing extracted data
	return { title, body };
	});

	// Logging the extracted sample data
	console.log(data);

	// Closing the Puppeteer browser
	await browser.close();
}

// Call the scrapeData() function
await scrapeData();
To learn more about web scraping Puppeteer, refer to our step-by-step tutorial. You’ll find out why scrapers choose Puppeteer for their project and a real-life example that will teach you how to scrape dynamic elements and deal with delayed rendering.
This is a step-by-step guide to web scraping using the Node.js library Puppeteer.
Playwright
Playwright is one of the newest cross-browser libraries primarily used for browser automation. It was developed by Microsoft in 2018, and has gained much popularity over the years.
The framework is very versatile – it can emulate three major browser groups: Chromium, Firefox, and WebKit. The tool has an inbuilt driver, so you won’t need other dependencies for it to work.
The headless browser library is easy to use and offers extensive documentation, so even beginners won’t struggle when web scraping. Playwright is a good performer – you can send multiple requests because it uses a WebSocket connection that stays open during the scrape.
To start using Playwright you need to install it by running the following command: npm install playwright
Here’s an example of how to scrape with Playwright:
					// Import Playwright library
import playwright from 'playwright';

// URL to scrape
const url = 'https://example.com';

// Function to scrape data
async function scrapeData() {
    // Launch a new browser instance
    const browser = await playwright.chromium.launch();

    // Create a new browser context
    const context = await browser.newContext();

    // Create a new page
    const page = await context.newPage();

    // Navigate to the URL
    await page.goto(url);

    // Scrape data from a specific element
    const data = await page.textContent('body');

    // Output the scraped data
    console.log(data);

	// Close the browser
	await browser.close();
}

// Call the scrapeData() function
await scrapeData();
We prepared a step-by-step tutorial if you want to learn more about web scraping with Playwright. You’ll find a real-life example where you can learn skills like scraping single and multiple pages, loading dynamic content, scraping tables, etc.
Practice web scraping JavaScript-based websites with our step-by-step tutorial.
Puppeteer vs. Playwright: Which One to Use?
Puppeteer and Playwright are great tools to automate browsers. They are both capable of rendering JavaScript, and simulating user interactions. However, there are some differences in features and performance that you should consider before choosing one over the other.
Puppeteer is capable of controlling Chromium-based browsers (like Chrome) only. It’s primarily used for web scraping, but it can be slightly slower when handling loads of concurrent tasks. Puppeteer is an older tool, meaning it’s well-established and you likely won’t encounter any problems using it. Additionally, it has great documentation and a large community for support.
Playwright supports all major browsers: Chromium, Firefox, and WebKit (Safari), so it’s very fast when handling multiple browsers concurrently. Playwright also has a built-in mobile emulation for rendering web pages. While it hasn’t been around for as long as Puppeteer, it’s rapidly growing.

You can read a more in-depth guide on how these two headless browsers differ:
We compare two Node.js headless browser libraries.
Web Scraping with JavaScript: Static Web Pages
Using HTTP Client
Despite what language you choose to scrape with, you need to automate your tool to retrieve web pages in order to scrape them. The rule applies to Node.js, too, so you’ll have to use an HTTP client to request and send back the HTML page programmatically. There are multiple HTTP clients available for Node.js, the most popular being Axios and Request.
Axios uses Promises – a certain placeholder that your request is not yet completed but will be soon, despite its outcome (success or failure). Promises make it easy to work asynchronously, meaning that while the operation is pending, your scraper can do other scheduled tasks.
Request, on the other hand, uses a callback function to handle HTTP requests asynchronously. You can nest functions (put one function inside another) to create logic for chaining tasks, and keep things organized. However, nesting can make the code very hard to read.
Here’s how Axios and Request compare:
| Axios | Request | |
| Ease of use | Very simple to use | Simple to use, but lacks features |
| Speed | Fast, but can sometimes slow down due to promise-based nature | Typically faster due to simpler design |
| Task chaining | Simple, no need for nesting | Nests functions, chaining tasks decreases readability |
| Readability | Easy | Easy, but gets more difficult with nested functions |
| Maintenance | Actively maintained with a large community | Not maintained anymore |
Both HTTP clients are still actively used today, but I would highly advise using Axios for any new project. It’s pretty simple to use and is still actively maintained while Request is deprecated and no longer receives updates. It can cause security and compatibility issues in the future.
Parsing Data
As mentioned before, Axios is an HTTP client that retrieves web pages. Cheerio, on the other hand, is an HTML parsing and manipulation library. Cheerio and Axios libraries are often used together because you need to retrieve pages, as well as extract the necessary data.
Cheerio is the most commonly used Node.js data parsing library – it extracts data from the HTML code you’ve downloaded and transforms it into a structured format. The tool runs on the server side and doesn’t require a full browser environment. Cheerio is a lightweight and fast library with jQuery functionality.
To start using Cheerio and Axios you need to install both libraries by running the following commands:
npm install axiosnpm install cheerio
Let’s look at the example code with Axios and Cheerio:
					import axios from 'axios';
import cheerio from 'cheerio';

// URL of the webpage to scrape
const url = 'https://example.com';

// Using axios to fetch the HTML content
axios.get(url)
  .then(response => {
    // Loading HTML content into Cheerio
    const $ = cheerio.load(response.data);

    // Extracting data using Cheerio
    const data = {
      title: $('title').text(), // Extracting title
      heading: $('h1').text(), // Extracting heading
      paragraph: $('p').text() // Extracting paragraph
    };

    // Logging the extracted sample data
    console.log(data);
  })
  .catch(error => {
    console.log(error);
  });
To learn more about web scraping static pages with Node.js and JavaScript, check out our tutorial with Axios and Cheerio. You’ll learn how to:
- fetch HTML data,
- parse the downloaded data,
- handle pagination and multiple asynchronous requests,
- clean the data.
This is a step-by-step example using Node.js libraries Cheerio and Axios.
Other Node.js Web Scraping Libraries
Node.js has many great libraries for web scraping, and the choice depends on your project requirements, including the complexity of the websites you want to scrape. But choosing the right tool for your web scraping project can be complicated. You need to consider things like the complexity of the website, the amount of data you want to scrape, the need for handling dynamic content or JavaScript, and other aspects.
Learn all about the 6 most popular Node.js web scraping libraries and find the best fit.
To see how the libraries compare side by side, check out the following tutorials for guidance:
Let’s see which Node.js library is better for your project.
Tips and Tricks for Node.js Web Scraping
Devise Web Scraping Guidelines and Practise Your Skills
You can gather data from real targets like eBay or practice your skills on websites designed to be scraped.
The first approach is for experienced users – you’ll encounter more web scraping challenges along the way, like CAPTCHAs, but you can get a lot of useful product information. For web scraping newbies, go with web scraping sandboxes; we’ve made a list of best websites to practice web scraping.
Whenever possible, look for API endpoints. Some websites offer publicly available APIs. If that’s not the case, you may still find a “hidden” one. Web scraping JavaScript-rendered websites involves loading JavaScript and parsing HTML to extract data. But if you reverse engineer the API endpoint by inspecting network requests, you can get structured data and use less bandwidth. For example, GraphQL is a popular endpoint for handling large amounts of data in dynamic websites.
Don’t forget to respect the website you’re scraping. Check out its robots.txt file to understand which pages are off-limits for scrapers. Additionally, try to avoid overloading the servers with multiple requests.
Use Proxies
Web scraping today is very different from the old days. Bad web scraping practices like malicious bot-like activities bear a large share of responsibility. Websites started implementing anti-bot systems like reCAPTCHA, DataDome, Cloudflare, and other measures to protect content from automatic data extraction.
These protection mechanisms reflect ethical web scraping practices as well. For example, you might encounter rate limiting, CAPTCHA prompts, or IP address blocks. That’s why you should use proxies.
A proxy server masks your real location and gives you a different IP address by routing your traffic through itself. If you’re serious about your project, we recommend rotating residential proxies.
These IP addresses come from real devices on Wi-Fi. Residential proxies are very hard to detect and come with worldwide locations.
If the website is not that strict toward data gathering, you can choose a cheaper option – rotating datacenter proxies. They’re created by web hosting companies and held in servers. They are much faster than their residential counterparts but easy to detect.
Take Care of the Browser Fingerprint
While the IP address reveals your real location, when you make an HTTP request, it also contains headers with information about your device parameters. The user-agent header is the main string that web owners care about. HTTP clients like Axios send their own user-agent, so you need to change it because the website will recognize your scraper.
Furthermore, don’t use the same user-agent; you need to rotate the string at random intervals because websites monitor requests coming from the same browser. And don’t forget to check if your user-agent string isn’t malformed.
An example of a well-formed user-agent:
Mozilla/5.0 (Windows NT 10.0; Win64; x64) AppleWebKit/537.36 (KHTML, like Gecko) Chrome/98.0.4758.102 Safari/537.36
To set the user-agent with Node.js, you need to put it in the object:
					// Import the Axios library
import axios from 'axios';

// Define custom headers for the HTTP request
const headers = {
  'User-Agent': 'Mozilla/5.0 (Macintosh; Intel Mac OS X 10_15_7) AppleWebKit/537.36 (KHTML, like Gecko) Chrome/113.0.0.0 Safari/537.36'
};
// Pass the custom headers object to the request
axios.get('https://www.example.com', { headers })
  .then(response => {
    // Handling successful response
    console.log(response.data);
  })
  .catch(error => {
    // Handling errors
    console.error('Error fetching data:', error);
  });
